How to Seal the Weep Screed Gap for Better Home Maintenance
Written by Stucco Champions — Southern California’s Authority on Exterior Plastering.
The Gap at the Bottom: Sealing the Weep Screed Without Rotting Your Home
One of the most common panic calls we receive comes from homeowners inspecting their perimeter: "There is a huge gap between the metal at the bottom of my wall and the concrete! Is my house falling apart? Can mice get in?"
We have good news and bad news.
The Good News: The gap is intentional engineering, not a defect.
The Bad News: If you try to seal it incorrectly with a caulking gun, you will trap moisture inside your walls and rot your framing. This guide explains the physics of the gap and the safe way to close it.
1. Why the Gap Exists (It’s Not a Mistake)
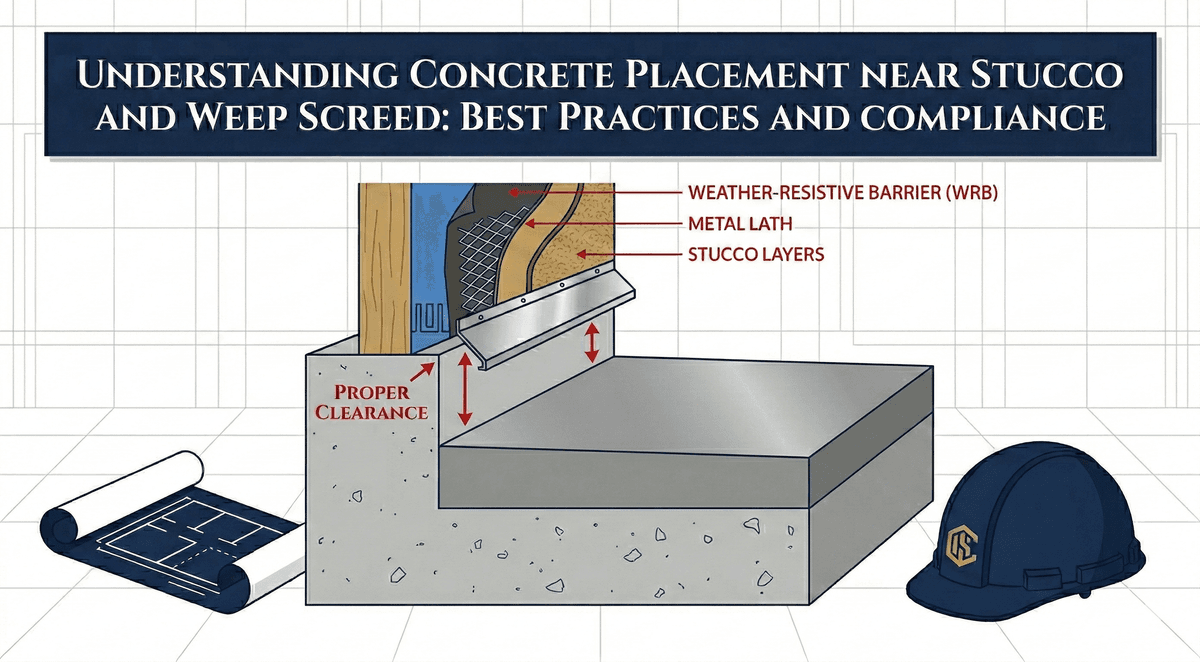
That gap is the result of modern building codes colliding with the reality of concrete.
- Shear Wall Offset: In older homes (Open Stud), the stucco was nailed directly to the studs, sitting flush with the foundation. Modern codes require 1/2" plywood (Shear Panels) over the studs. The weep screed is nailed on top of this plywood, pushing the metal 1/2" to 3/4" away from the concrete foundation.
- Foundation Variance: Metal screeds are perfectly straight. Concrete foundations are not. When the concrete bows inward, the gap behind the straight metal appears wider.
Free Assessment
Noticing Stucco Damage?
Get a free on-site assessment from a licensed contractor. $0 deposit, no obligation.
GET FREE ASSESSMENT2. The "Do Not Touch" Zone
The Weep Screed is the exit door for your wall system. Gravity pulls moisture down the building paper and out through the small holes in the bottom of the screed.
⚠️ The Cardinal SinNEVER apply caulk over the front face or the weep holes of the screed. If you seal the holes, you turn your wall into a swimming pool. The water will back up, saturate the plywood, and rot the mudsill.
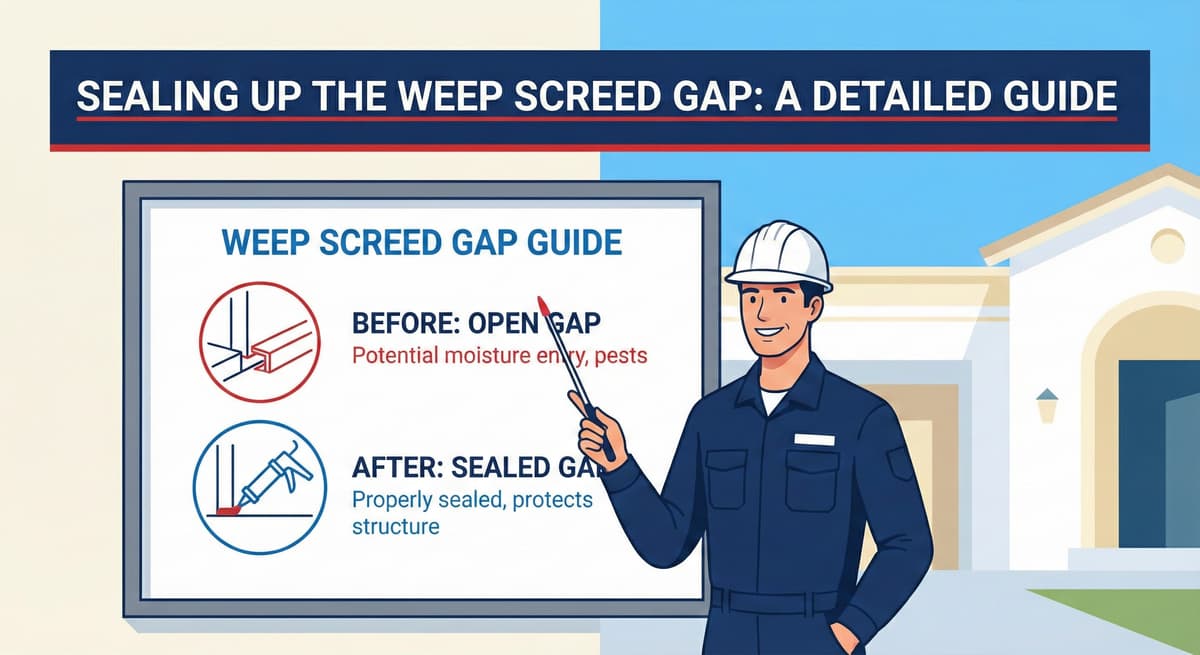
3. How to Seal It Safely (Method A: Polyurethane)
If you are concerned about ants or spiders entering through the gap behind the screed, you can seal it, but you must be precise.
The "Undercarriage" Technique:
Instead of caulking the front, apply a bead of high-quality Polyurethane Sealant (like Sikaflex) underneath the metal.
- Bridge the gap between the bottom return leg of the metal and the concrete foundation.
- Do not push the caulk up into the cavity. Just seal the horizontal line where the metal hovers over the concrete.
- This blocks bugs from crawling up, but leaves the internal drainage path open.
4. How to Seal It Safely (Method B: Retrofit Screens)
If the gap is large enough for mice (>1/4 inch), caulk is messy and ineffective. The professional solution is a Weep Screed Screen.
These are stainless steel mesh strips designed to slide up into the gap.
Why they win: The mesh is fine enough to stop mice and large insects, but open enough to allow airflow and water drainage. It is a permanent, mechanical barrier that doesn't rely on chemical adhesion.
5. Avoid Expanding Foam
We strongly advise against using expanding spray foam (like Great Stuff) for this application.
Why Foam FailsFoam is uncontrollable. It expands upward into the wall cavity, potentially blocking the drainage plane 2-3 inches above the screed. Once it cures, it is nearly impossible to remove without damaging the stucco.
Conclusion: Airflow is Good
Unless you have a confirmed pest infestation, the best advice is often to leave the gap alone. The airflow helps keep the stucco dry and the wood framing healthy. If you must seal it, use the Undercarriage Technique and ensure water can still drip out.
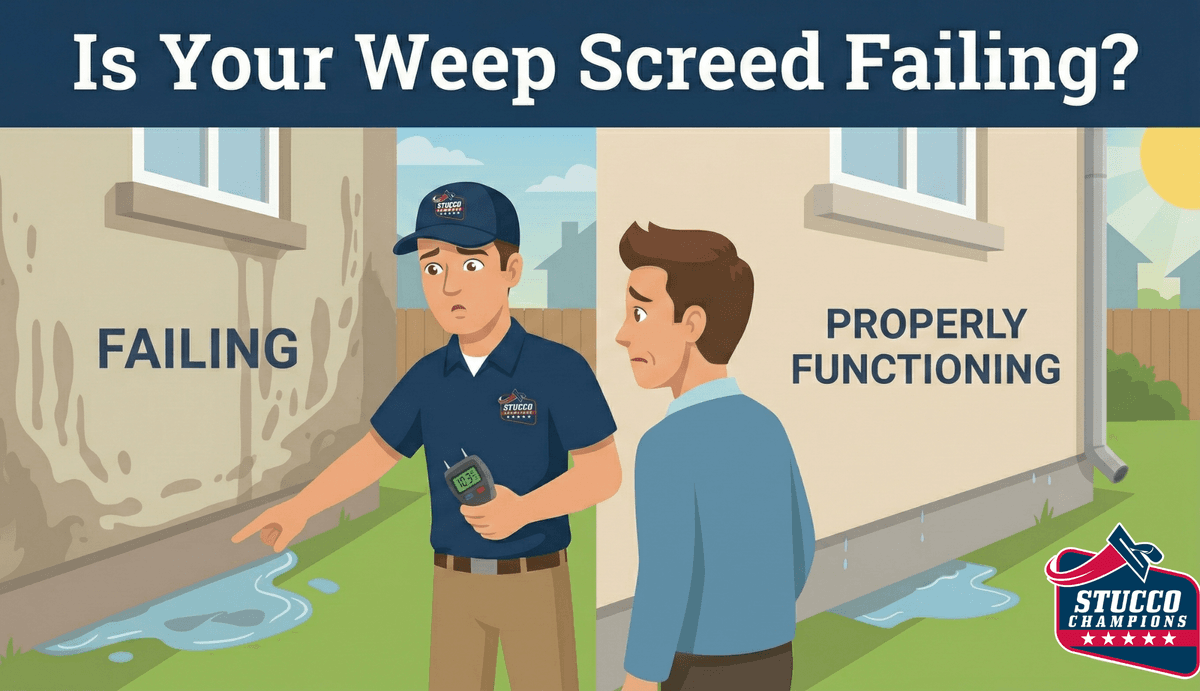
Is Your Weep Screed in Good Shape?
Before sealing, run our free visual self-check to make sure your screed is healthy.
Frequently Asked Questions About Stucco
How much does stucco repair cost in Orange County and Los Angeles?+
Stucco repair typically ranges from $500 for minor crack patching to $5,000+ for full re-stucco of a single elevation. The exact cost depends on the damage type (hairline cracks, water damage, delamination, weep screed failure), the square footage involved, and whether the original three-coat or one-coat stucco system needs to be matched. Stucco Champions provides fixed-price written estimates after a free on-site assessment — no hourly billing, no surprise change orders. See our stucco repair cost guide for detailed pricing by repair type.
How long does stucco last in Southern California?+
Properly installed three-coat stucco lasts 50-80+ years in Southern California's climate. The most common failure points aren't the stucco itself — they're the supporting components: corroded weep screed, deteriorated building paper behind the stucco, and improperly sealed window flashing. Most "stucco failures" are actually moisture-intrusion failures that start at one of these points. Annual visual inspection catches problems before they spread, which is why we offer free weep screed assessments for homeowners in our service area.
Can I repair stucco myself, or do I need a contractor?+
Hairline cracks under 1/8 inch wide can be sealed with elastomeric caulk by a homeowner. Anything larger — pattern cracks, delamination (where stucco pulls away from the wall), water-damaged areas, or chimney/window leak repairs — requires a licensed contractor. Improper DIY repair on these is the #1 cause of repeat failures because the underlying cause (usually moisture) isn't addressed. California's CSLB requires a license for any stucco work over $500. We're a CSLB-licensed and insured contractor — see our contractor team for credentials.
How do I know if I need stucco repair vs. full re-stucco?+
If less than 30% of an elevation has visible damage, repair is the right call. If you see large areas of cracking, multiple zones of delamination, or the underlying paper and lath have rotted across an entire wall, full re-stucco of that elevation is more cost-effective long-term. Our free assessment includes a moisture survey and lath inspection so you get a defensible recommendation either way — not just a quote pushing whichever option costs more.
Do you offer warranties on stucco work?+
Yes. Stucco Champions provides a written 5-year workmanship warranty on all stucco repairs and a 10-year warranty on full re-stucco. We're a CSLB-licensed and insured contractor (license #1122006 — verifiable at cslb.ca.gov), which means our work is backed by California's contractor licensing board, not just our own promise. Request a free estimate to see the warranty terms in writing before you sign anything.
How long does a stucco repair take?+
Most patch repairs are completed in 1-2 days, including a 24-hour cure time before texture matching and color application. Full re-stucco of a single elevation runs 5-7 working days because each coat (scratch, brown, finish) needs to cure properly before the next is applied. We schedule around weather — California stucco needs daytime temperatures above 50°F with no rain forecast for at least 24 hours after each coat. Our crew shows up on time, every time.