Mixing Drills for Construction Materials

Written by Stucco Champions — Southern California’s Authority on Exterior Plastering.
Heavy Duty Mixing: A Guide to Choosing the Best Drill for Stucco
If you have ever tried to mix a 90lb bag of stucco with a standard cordless drill, you know the smell of a burning motor. Stucco, mortar, and thin-set are high-viscosity materials. They require torque, not speed. Using the wrong tool is the fastest way to destroy your equipment and injure your wrists.
Whether you are a DIYer patching a wall or a contractor upgrading your rig, you need a dedicated Mixing Drill. This guide breaks down the mechanics of high-torque mixing and reviews the top contenders on the market.
1. The Physics: Torque vs. Speed
Standard drills are designed for high RPM (speed) to bore holes in wood. Mixing drills are geared down to produce Low RPM and High Torque.
⚠️ The Burnout Warning
Do not use your 18v or 20v cordless drill for mixing stucco. Stucco contains sand aggregate that creates massive drag. Continuous mixing overheats the battery and motor coils. You need a corded, low-gear tool to turn the mud without stalling.
Free Assessment
Noticing Stucco Damage?
Get a free on-site assessment from a licensed contractor. $0 deposit, no obligation.
GET FREE ASSESSMENT2. The "Spade Handle" Workhorses
These look like oversized drills with a D-handle on the back and a spade handle on the side. They are the industry standard for 5-gallon bucket mixing.
The Reliability King: Makita DS4011
Best For: The daily user who needs bulletproof reliability.
Why We Like It: Makita motors are legendary. This unit runs at a lower RPM (600) which keeps the torque high. It doesn't bog down even with stiff scratch coat mixes.
The Budget Beast: Ridgid Mixing Drill
Best For: Homeowners and apprentices.
Why We Like It: It offers the best power-to-price ratio. We have abused these on job sites, and they hold up surprisingly well against the more expensive brands.
The Veteran: Bosch GBM9-16
Best For: Ergonomics.
Why We Like It: It is slightly lighter than the Makita but delivers consistent power. If you are mixing all day, the weight difference saves your shoulders.
3. The "Steering Wheel" Mixers
For larger batches or stiffer materials (like dry-pack mortar), the spade handle drill can twist your wrist. Enter the Dedicated Paddle Mixer.
The Pro Choice: Collomix Xo1
Design: You hold it with two hands like a steering wheel.
Why We Like It: The ergonomics are superior. It puts the load on your biceps rather than your wrists. It features electronic speed control and a quick-disconnect paddle system. It is expensive, but if you mix mud daily, it pays for itself in saved physical therapy bills.
The Dual-Paddle Innovator: Collomix Xo55
The Tech: This machine spins two paddles in opposite directions.
The Result: The counter-rotation pulls the material through the blades faster with zero torque transfer to the user. It is the fastest way to mix without fighting the bucket.
4. Paddle Selection: It Matters
The drill is the engine; the paddle is the tires. You need the right tread for the terrain.
Paddle Types
- Spiral / Helix Paddle: Best for Stucco and Concrete. The spiral design lifts heavy sand/aggregate from the bottom of the bucket to the top, ensuring a uniform mix without dry pockets.
- Cage Paddle: Best for Paint and Drywall Mud. These are designed to shear thinner materials. They struggle to lift heavy sand.
5. The Economy Option
Harbor Freight Bauer Mixer:
If you only have one project to do, the Bauer mixer is a viable disposable option. It mimics the design of the high-end Collomix units at a fraction of the price. It won't last a lifetime, but it will likely survive a single home renovation.
Conclusion: Invest in Torque
Mixing is the hardest physical part of the stucco process. Don't make it harder by using a weak drill. Invest in a high-torque, corded mixing drill (Ridgid or Makita) and a heavy-duty spiral paddle. Your mud will be creamier, and your drill won't smoke.
Related Resources
Last week, we shared Stucco Systems: Identifying What’s on Your Home. Knowing your system helps determine which material you need to mix.
Frequently Asked Questions About Stucco
How much does stucco repair cost in Orange County and Los Angeles?+
Stucco repair typically ranges from $500 for minor crack patching to $5,000+ for full re-stucco of a single elevation. The exact cost depends on the damage type (hairline cracks, water damage, delamination, weep screed failure), the square footage involved, and whether the original three-coat or one-coat stucco system needs to be matched. Stucco Champions provides fixed-price written estimates after a free on-site assessment — no hourly billing, no surprise change orders. See our stucco repair cost guide for detailed pricing by repair type.
How long does stucco last in Southern California?+
Properly installed three-coat stucco lasts 50-80+ years in Southern California's climate. The most common failure points aren't the stucco itself — they're the supporting components: corroded weep screed, deteriorated building paper behind the stucco, and improperly sealed window flashing. Most "stucco failures" are actually moisture-intrusion failures that start at one of these points. Annual visual inspection catches problems before they spread, which is why we offer free weep screed assessments for homeowners in our service area.
Can I repair stucco myself, or do I need a contractor?+
Hairline cracks under 1/8 inch wide can be sealed with elastomeric caulk by a homeowner. Anything larger — pattern cracks, delamination (where stucco pulls away from the wall), water-damaged areas, or chimney/window leak repairs — requires a licensed contractor. Improper DIY repair on these is the #1 cause of repeat failures because the underlying cause (usually moisture) isn't addressed. California's CSLB requires a license for any stucco work over $500. We're a CSLB-licensed and insured contractor — see our contractor team for credentials.
How do I know if I need stucco repair vs. full re-stucco?+
If less than 30% of an elevation has visible damage, repair is the right call. If you see large areas of cracking, multiple zones of delamination, or the underlying paper and lath have rotted across an entire wall, full re-stucco of that elevation is more cost-effective long-term. Our free assessment includes a moisture survey and lath inspection so you get a defensible recommendation either way — not just a quote pushing whichever option costs more.
Do you offer warranties on stucco work?+
Yes. Stucco Champions provides a written 5-year workmanship warranty on all stucco repairs and a 10-year warranty on full re-stucco. We're a CSLB-licensed and insured contractor (license #1122006 — verifiable at cslb.ca.gov), which means our work is backed by California's contractor licensing board, not just our own promise. Request a free estimate to see the warranty terms in writing before you sign anything.
How long does a stucco repair take?+
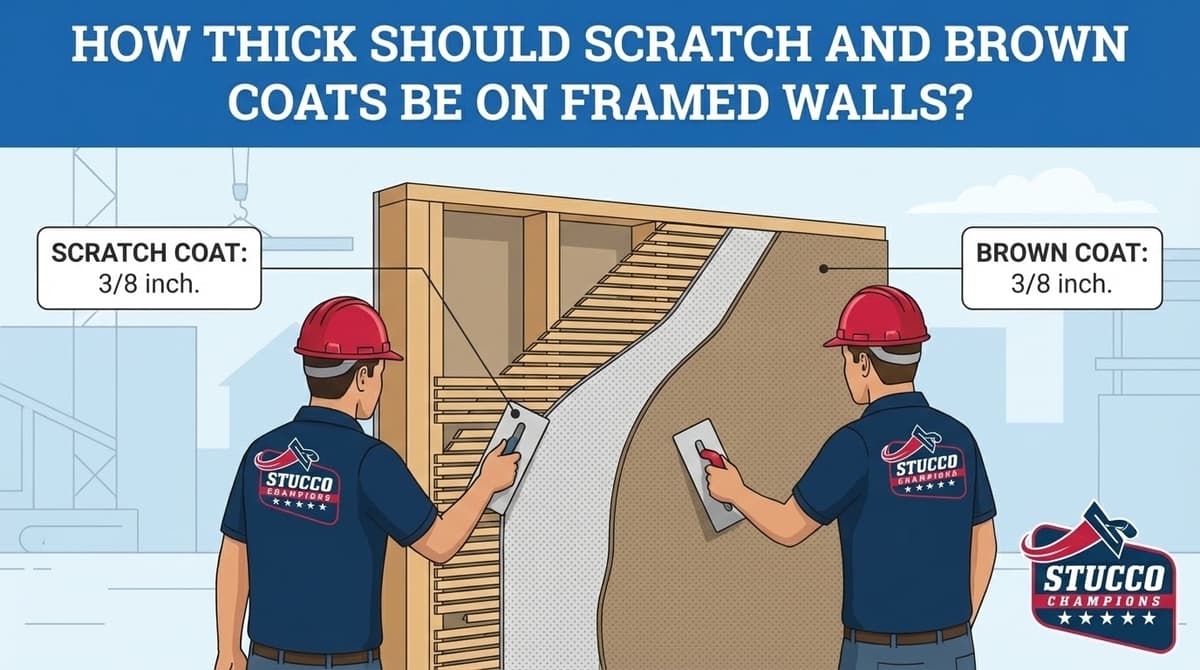
Most patch repairs are completed in 1-2 days, including a 24-hour cure time before texture matching and color application. Full re-stucco of a single elevation runs 5-7 working days because each coat (scratch, brown, finish) needs to cure properly before the next is applied. We schedule around weather — California stucco needs daytime temperatures above 50°F with no rain forecast for at least 24 hours after each coat. Our crew shows up on time, every time.