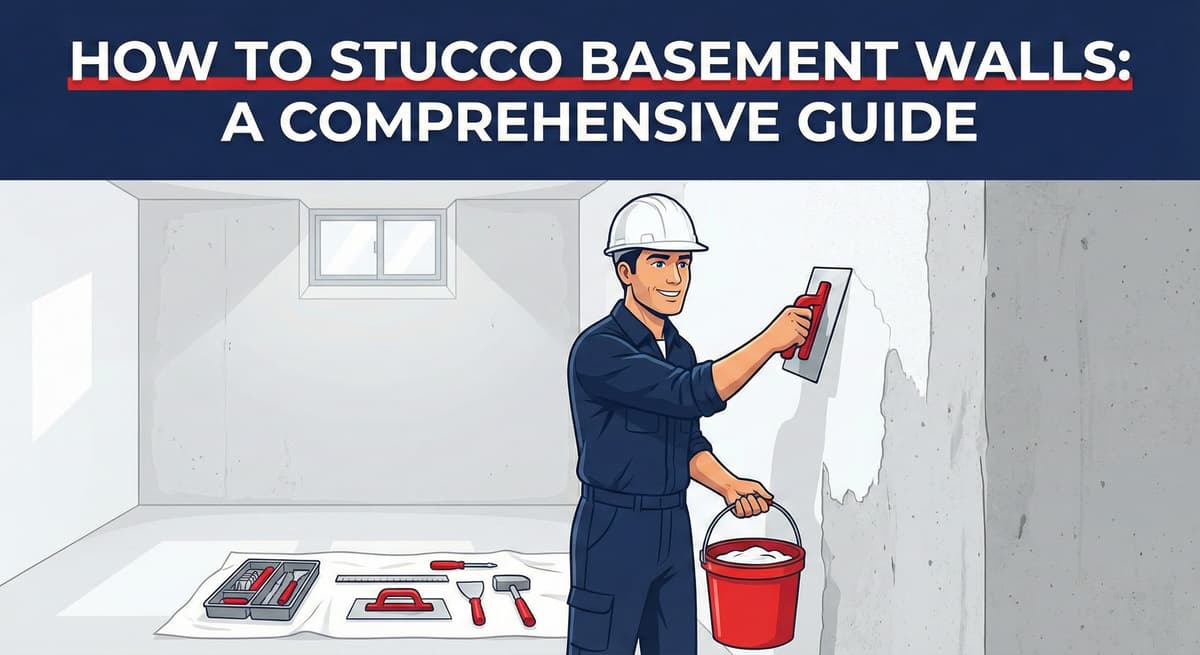
How to Stucco Basement Walls: A Comprehensive Guide
Written by Stucco Champions — Southern California’s Authority on Exterior Plastering.
How to Stucco Basement Walls: A Comprehensive Guide to Parging
In Southern California, true basements are rare, but hillside homes often have exposed concrete retaining walls, walk-out basements, or "stem walls" that look unfinished and industrial. Applying stucco to these surfaces—a process known in the trade as "Parging"—is the most effective way to integrate the foundation with the rest of the home’s architecture.
However, stuccoing over concrete or cinder block is technically different from stuccoing over wood framing. You are fighting against ground moisture, hydrostatic pressure, and smooth surfaces that resist bonding. This guide outlines the professional protocol for direct-applied stucco systems.
1. The Physics: Moisture Management
Before you pick up a trowel, you must diagnose the wall. Basement walls are in contact with the earth.
The Water Test: Tape a 12x12 inch square of clear plastic to the concrete wall. Leave it for 24 hours.
If moisture forms behind the plastic: You have hydrostatic pressure pushing through the wall. Do not stucco this wall. The moisture will push the new stucco off (delamination). You must solve the drainage issue from the outside first.
Free Assessment
Noticing Stucco Damage?
Get a free on-site assessment from a licensed contractor. $0 deposit, no obligation.
GET FREE ASSESSMENT2. Surface Preparation: Creating the Bond
Concrete is often smooth or covered in form oil/dirt. Stucco will not stick to a dirty or sealed surface.
- Pressure Wash: Use 3,000 PSI to remove loose debris, moss, and efflorescence (white salts).
- The Bonding Agent: This is non-negotiable. Apply a liquid bonding agent (like Weld-Crete) to the clean concrete. This chemical adhesive ensures the new cement fuses to the old concrete.
- Mechanical Key: If the wall is painted, you cannot bond to it. You must sandblast the paint off or install metal lath to create a mechanical grip.
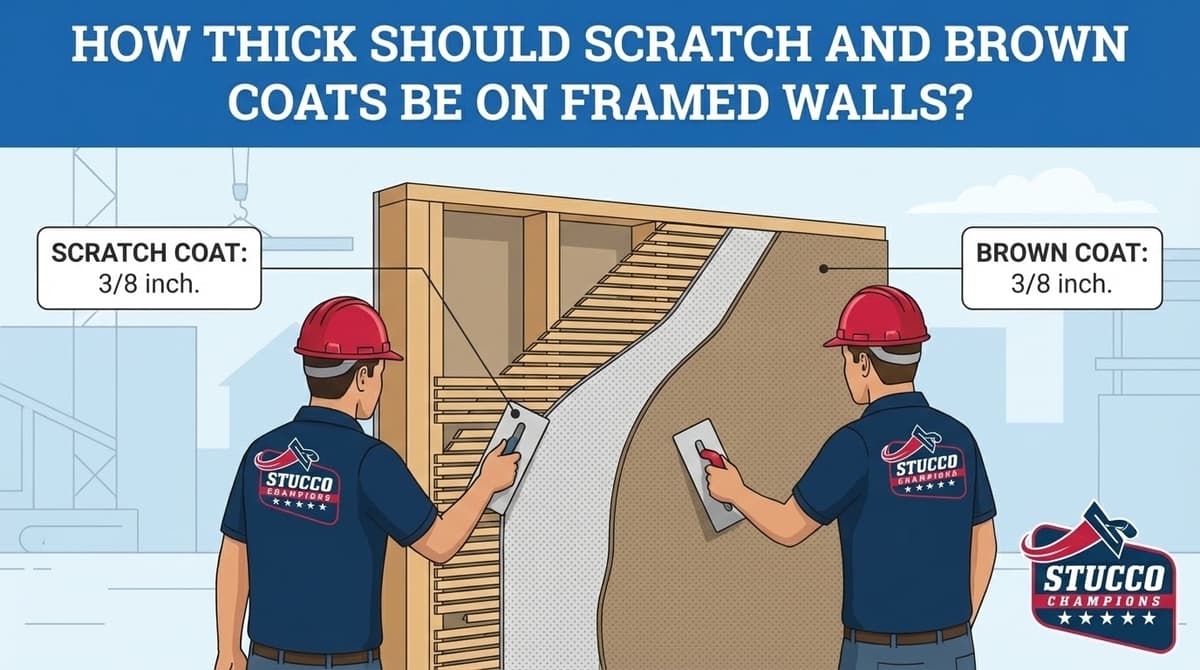
3. The "Two-Coat" Parge System
Unlike wood walls that need three coats, concrete walls provide a solid backing. We typically use a Two-Coat application.
Step A: The Leveling Base Coat
Material: Use a Fiber-Reinforced Stucco Base (like Omega or Quikrete Fiberglass Reinforced Stucco). The fibers prevent cracking over mortar joints.
Application: Trowel the material onto the wall, pressing hard to force it into the pores.
Goal: Fill the voids (bug holes) and cover the lines of the cinder blocks so they don't "telegraph" through the finish.
Thickness: Approximately 3/8 inch.
Step B: The Finish Coat
Once the base coat has cured (minimum 7 days), apply the finish texture.
Thickness: 1/8 inch.
Material: Use a factory-blended finish coat for consistent color.
4. Material Selection: Acrylic vs. Cement
The location of the wall dictates the material.
Below Grade / Retaining Walls
Use Traditional Cement Finish.
Why? Cement is breathable (permeable). If ground moisture wicks through the wall, it can evaporate through the cement finish without damage. If you use Acrylic (synthetic) on a retaining wall, the moisture will get trapped behind the plastic coating and cause bubbles.
Walk-Out / Dry Walls
Use Acrylic Finish.
Why? Acrylics are flexible and resist cracking. They are ideal for walls that are not holding back soil.
5. Troubleshooting Common Issues
- Efflorescence: White powder appearing on the surface. This is salt leaching from the ground. Do not paint over it. Clean it with a vinegar solution.
- Bowed Walls: If the concrete wall is bowing inward, this is a structural failure. Stucco will not fix this. Call a structural engineer immediately.
- Mold: Never stucco over mold. Kill it with a bleach solution and ensure the wall is bone dry before application.
Conclusion: Transform the Dungeon
Parging a basement or foundation wall transforms it from a dark, industrial space into a finished living area. The secret is respect for moisture. If you manage the water and use the correct bonding agents, the stucco will last as long as the foundation itself.
Related Resources
Last week, we shared White Stucco Houses: A Comprehensive Guide to Elegance. Bright white stucco is a popular choice for brightening up dark basement walk-outs.
Frequently Asked Questions About Stucco
How much does stucco repair cost in Orange County and Los Angeles?+
Stucco repair typically ranges from $500 for minor crack patching to $5,000+ for full re-stucco of a single elevation. The exact cost depends on the damage type (hairline cracks, water damage, delamination, weep screed failure), the square footage involved, and whether the original three-coat or one-coat stucco system needs to be matched. Stucco Champions provides fixed-price written estimates after a free on-site assessment — no hourly billing, no surprise change orders. See our stucco repair cost guide for detailed pricing by repair type.
How long does stucco last in Southern California?+
Properly installed three-coat stucco lasts 50-80+ years in Southern California's climate. The most common failure points aren't the stucco itself — they're the supporting components: corroded weep screed, deteriorated building paper behind the stucco, and improperly sealed window flashing. Most "stucco failures" are actually moisture-intrusion failures that start at one of these points. Annual visual inspection catches problems before they spread, which is why we offer free weep screed assessments for homeowners in our service area.
Can I repair stucco myself, or do I need a contractor?+
Hairline cracks under 1/8 inch wide can be sealed with elastomeric caulk by a homeowner. Anything larger — pattern cracks, delamination (where stucco pulls away from the wall), water-damaged areas, or chimney/window leak repairs — requires a licensed contractor. Improper DIY repair on these is the #1 cause of repeat failures because the underlying cause (usually moisture) isn't addressed. California's CSLB requires a license for any stucco work over $500. We're a CSLB-licensed and insured contractor — see our contractor team for credentials.
How do I know if I need stucco repair vs. full re-stucco?+
If less than 30% of an elevation has visible damage, repair is the right call. If you see large areas of cracking, multiple zones of delamination, or the underlying paper and lath have rotted across an entire wall, full re-stucco of that elevation is more cost-effective long-term. Our free assessment includes a moisture survey and lath inspection so you get a defensible recommendation either way — not just a quote pushing whichever option costs more.
Do you offer warranties on stucco work?+
Yes. Stucco Champions provides a written 5-year workmanship warranty on all stucco repairs and a 10-year warranty on full re-stucco. We're a CSLB-licensed and insured contractor (license #1122006 — verifiable at cslb.ca.gov), which means our work is backed by California's contractor licensing board, not just our own promise. Request a free estimate to see the warranty terms in writing before you sign anything.
How long does a stucco repair take?+
Most patch repairs are completed in 1-2 days, including a 24-hour cure time before texture matching and color application. Full re-stucco of a single elevation runs 5-7 working days because each coat (scratch, brown, finish) needs to cure properly before the next is applied. We schedule around weather — California stucco needs daytime temperatures above 50°F with no rain forecast for at least 24 hours after each coat. Our crew shows up on time, every time.