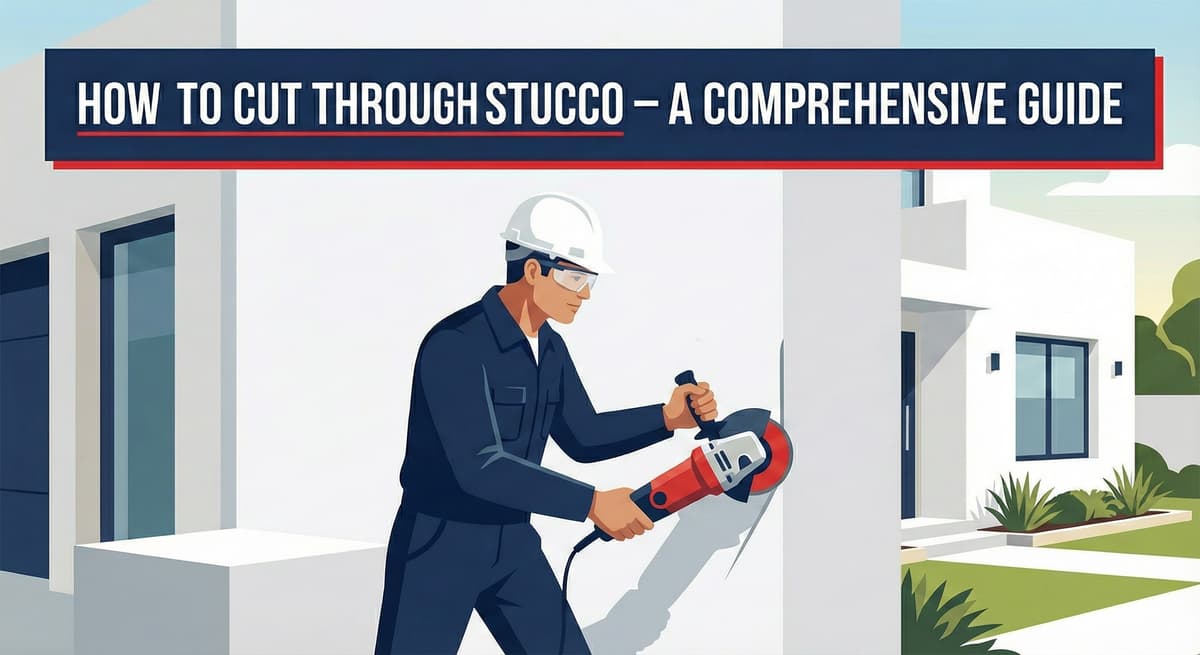
How To Cut Through Stucco – A Comprehensive Guide
Written by Stucco Champions — Southern California’s Authority on Exterior Plastering.
How to Cut Through Stucco: A Comprehensive Tool Guide
Cutting into stucco is a necessary evil for many home improvement projects, from installing a new window to running an electrical conduit. But stucco is not drywall. It is a rigid, 7/8" thick layer of Portland cement reinforced with steel wire. If you attack it with the wrong tool, you will burn out your motor, dull your blade, and crack the surrounding wall.
This guide breaks down the professional tools required to cut masonry cleanly, safely, and efficiently.
1. The Powerhouse: Angle Grinder + Diamond Blade
For 90% of cuts, the 4.5" Angle Grinder is the tool of choice.
The Blade: You must use a Segmented Diamond Blade. The segments allow for cooling and dust ejection. A continuous rim blade (for tile) will overheat and warp.
Best For: Long straight lines, square cutouts for electrical boxes, and heavy demolition.
Free Assessment
Noticing Stucco Damage?
Get a free on-site assessment from a licensed contractor. $0 deposit, no obligation.
GET FREE ASSESSMENT2. The Precision Tool: Oscillating Multi-Tool
When you need a surgical cut without over-cutting the corners, the Multi-Tool is essential.
The Blade: Use a Carbide Grit or Diamond Grit blade. Standard wood blades will lose their teeth in seconds against cement.
Best For: Plunge cuts, tight corners where a round grinder blade would cut too far, and detail work.
3. The Hole Maker: Diamond Hole Saw
If you are installing a pipe, dryer vent, or hose bib, do not try to cut a circle with a grinder.
The Tool: A drill-mounted Diamond Core Bit.
Technique: Use a spray bottle to keep the cut wet. This cools the diamonds and prevents the bit from burning up. Go slow and let the grit do the work.
⚠️ The Dust Hazard
Cutting stucco releases Silica Dust, which is a severe lung hazard (and illegal to release in large quantities).
Protocol: Always wear an N95 respirator. Whenever possible, use a dust shroud connected to a HEPA vacuum, or have a helper spray a fine mist of water on the blade to suppress the cloud.
4. Cutting the Wire (Lath)
Once you cut the cement, you will hit the steel mesh.
The Problem: Spinning blades can snag the wire and rip it out of the wall, causing massive damage.
The Fix: Cut the cement first, then stop. Use Aviation Snips (tin snips) to manually cut the wire mesh. This ensures a clean edge and prevents the lath from unraveling inside the wall.
Conclusion: Respect the Material
Stucco is rock. Treat it like rock. Use diamond tooling, manage the dust, and be gentle with the wire lath underneath. By using the right tool for the specific cut, you can open a wall without destroying the structural integrity of the home.
Related Resources
Last week, we shared LaHabra Stucco Color Charts. If you are patching the hole you just cut, you'll need to match the color.
Frequently Asked Questions About Stucco
How much does stucco repair cost in Orange County and Los Angeles?+
Stucco repair typically ranges from $500 for minor crack patching to $5,000+ for full re-stucco of a single elevation. The exact cost depends on the damage type (hairline cracks, water damage, delamination, weep screed failure), the square footage involved, and whether the original three-coat or one-coat stucco system needs to be matched. Stucco Champions provides fixed-price written estimates after a free on-site assessment — no hourly billing, no surprise change orders. See our stucco repair cost guide for detailed pricing by repair type.
How long does stucco last in Southern California?+
Properly installed three-coat stucco lasts 50-80+ years in Southern California's climate. The most common failure points aren't the stucco itself — they're the supporting components: corroded weep screed, deteriorated building paper behind the stucco, and improperly sealed window flashing. Most "stucco failures" are actually moisture-intrusion failures that start at one of these points. Annual visual inspection catches problems before they spread, which is why we offer free weep screed assessments for homeowners in our service area.
Can I repair stucco myself, or do I need a contractor?+
Hairline cracks under 1/8 inch wide can be sealed with elastomeric caulk by a homeowner. Anything larger — pattern cracks, delamination (where stucco pulls away from the wall), water-damaged areas, or chimney/window leak repairs — requires a licensed contractor. Improper DIY repair on these is the #1 cause of repeat failures because the underlying cause (usually moisture) isn't addressed. California's CSLB requires a license for any stucco work over $500. We're a CSLB-licensed and insured contractor — see our contractor team for credentials.
How do I know if I need stucco repair vs. full re-stucco?+
If less than 30% of an elevation has visible damage, repair is the right call. If you see large areas of cracking, multiple zones of delamination, or the underlying paper and lath have rotted across an entire wall, full re-stucco of that elevation is more cost-effective long-term. Our free assessment includes a moisture survey and lath inspection so you get a defensible recommendation either way — not just a quote pushing whichever option costs more.
Do you offer warranties on stucco work?+
Yes. Stucco Champions provides a written 5-year workmanship warranty on all stucco repairs and a 10-year warranty on full re-stucco. We're a CSLB-licensed and insured contractor (license #1122006 — verifiable at cslb.ca.gov), which means our work is backed by California's contractor licensing board, not just our own promise. Request a free estimate to see the warranty terms in writing before you sign anything.
How long does a stucco repair take?+
Most patch repairs are completed in 1-2 days, including a 24-hour cure time before texture matching and color application. Full re-stucco of a single elevation runs 5-7 working days because each coat (scratch, brown, finish) needs to cure properly before the next is applied. We schedule around weather — California stucco needs daytime temperatures above 50°F with no rain forecast for at least 24 hours after each coat. Our crew shows up on time, every time.